A print job stalls for boring reasons far more often than creative ones. Nine times in ten it is the file, and nine times in ten the fix takes two minutes in the design app.
The three boxes
Every print file has three nested areas. Bleed is artwork extended past the cut, normally 3 mm on every edge. Trim is the finished size, where the blade lands. Safe area is 3–5 mm inside the trim, where all text and logos must sit. Cutting has a tolerance of about a millimetre; the safe area is what absorbs it.
Export settings that work
- PDF/X-4 or PDF/X-1a, not a screen-optimised PDF.
- Images at 300 DPI at final placed size — 72 DPI upscaled will look soft.
- All fonts embedded, or outlined if you cannot embed them.
- Crop marks on, offset beyond the bleed.
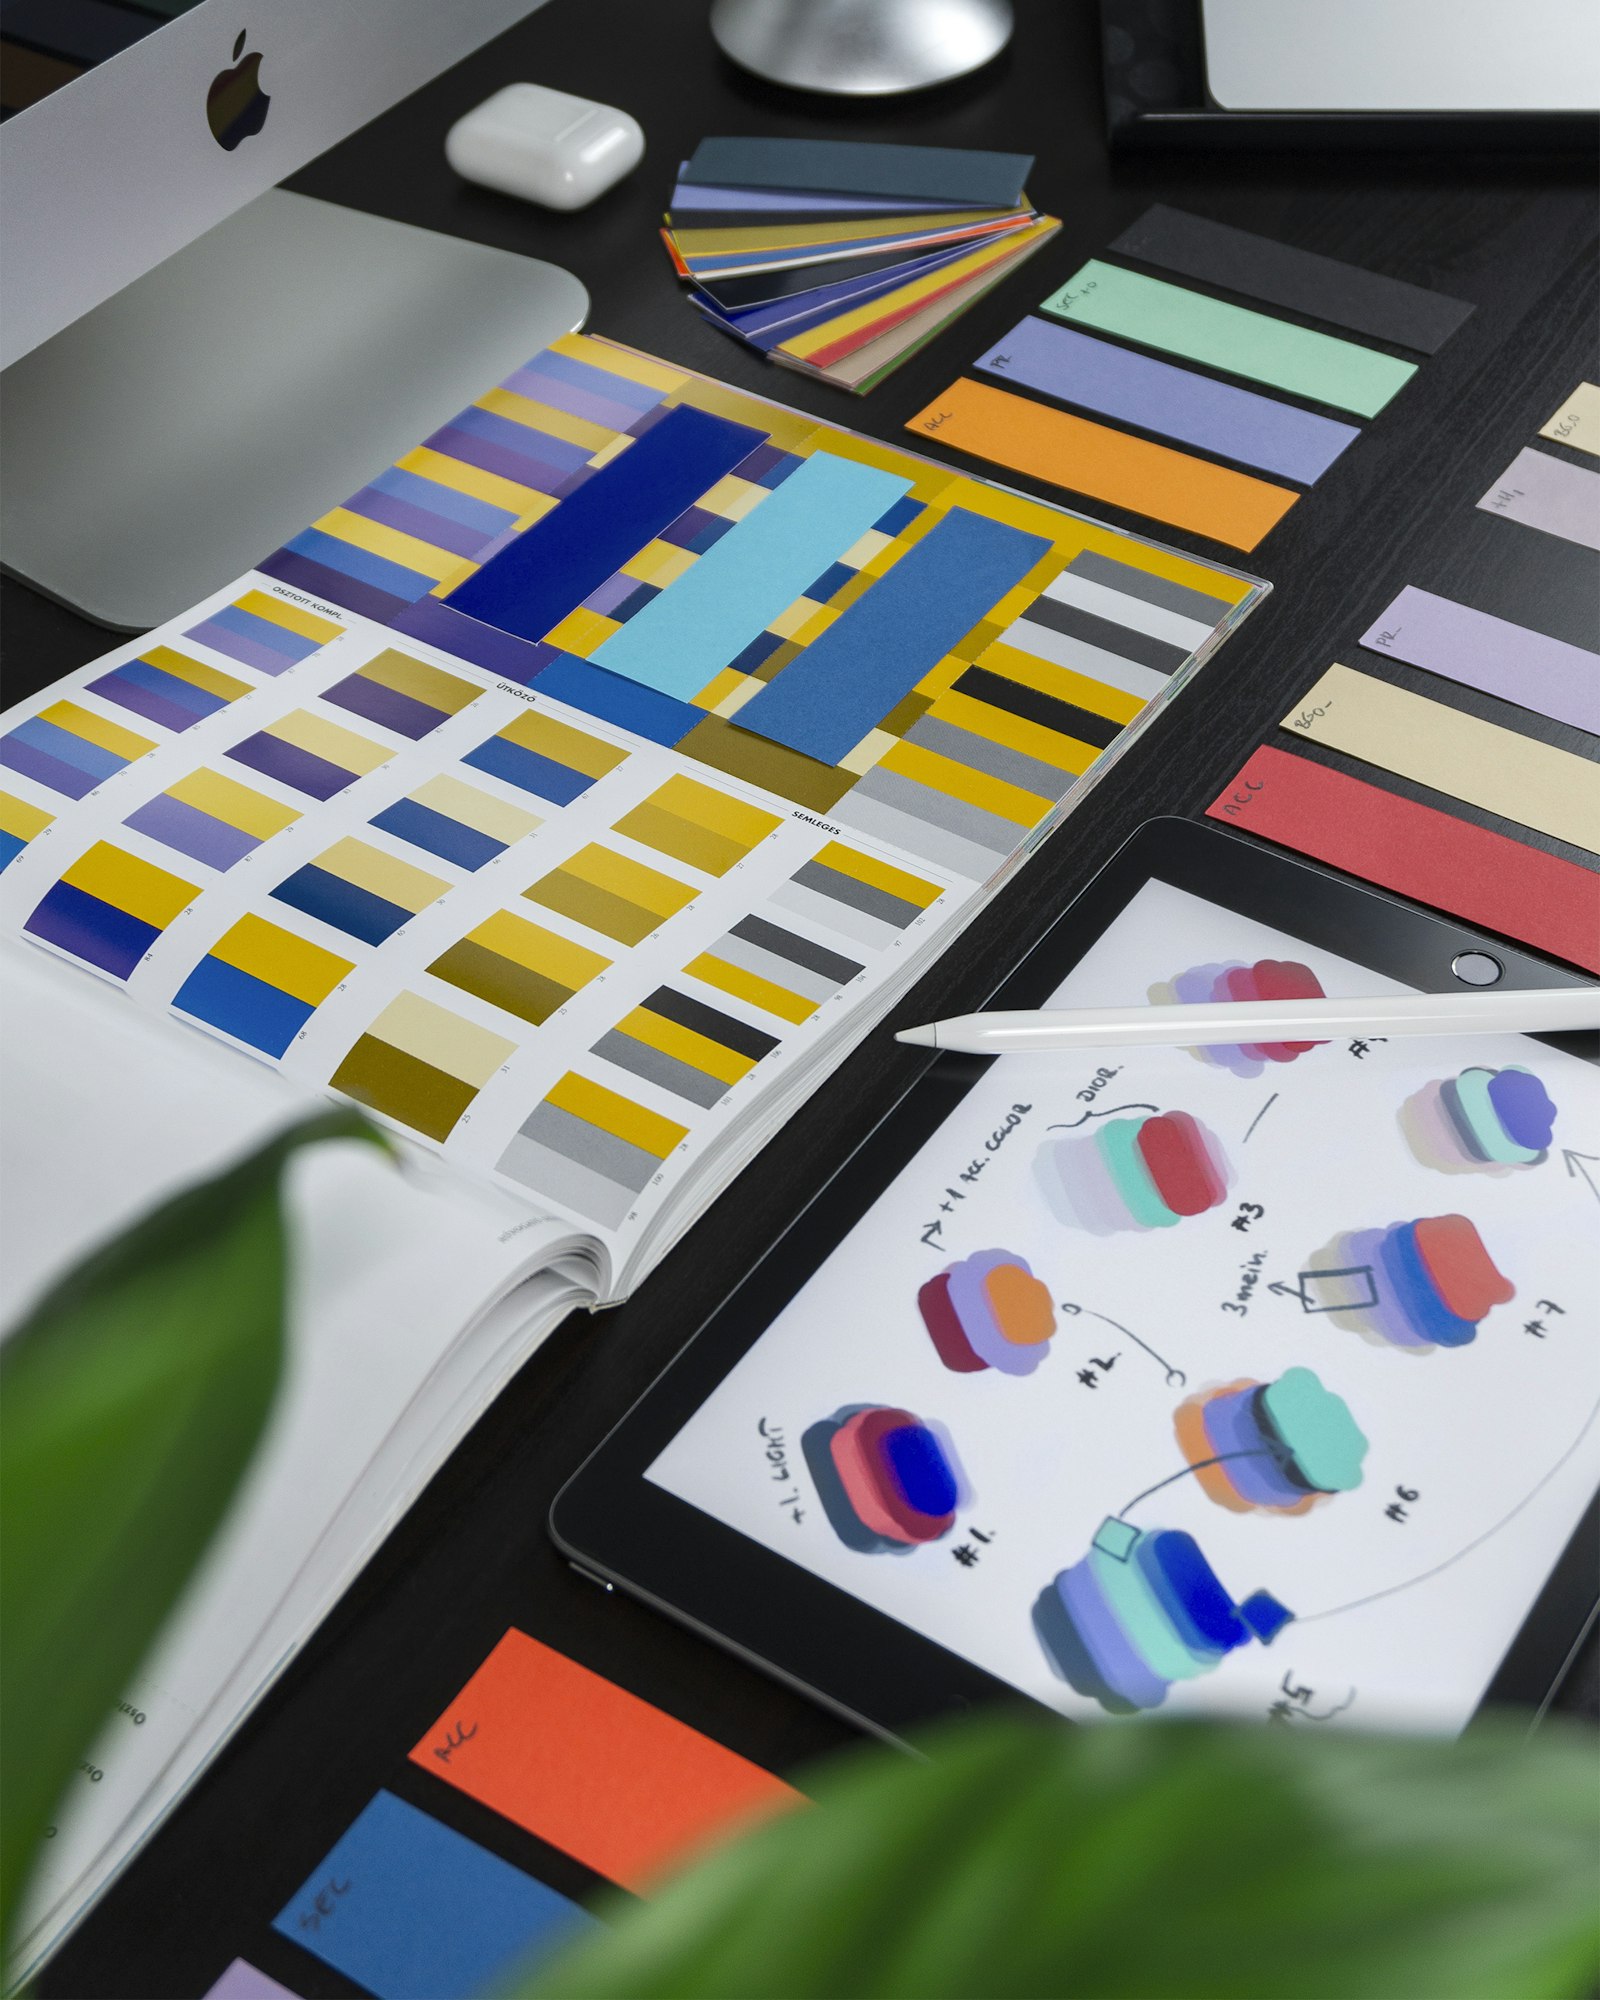
- Every spot colour named consistently, with unused swatches deleted.
Things that quietly break
Hairline strokes under 0.25 pt can disappear on an offset press. Thin white type on a four-colour background will show any registration drift, so keep it bold. Transparency effects flattened at low resolution produce visible boxes. And a background that stops exactly at the trim line will show a white sliver on at least a few sheets in the stack.
Before you send
Open the exported PDF, turn on overprint preview, and look at it at 100%. If it looks right there, it will print right. Every file we receive also goes through a free pre-press check, and we come back to you before production if something needs attention.